Unordered List

Follow on Bloglovin

Thursday 30 January 2014

Baileys bottle re-do! (tutorial) from "Bottle series - 1"

Baileys bottles have a nice shape, at least old ones had.. by the way, the baileys company just changed the design of their bottles, I don't know why, because I really like the shape of previous one..oh, well.

So maybe now I have  the last bottle of old design, here what I've done with it...


1. Remove the label by soaking the bottle in warm water. Than just rub it away. Easy.
 2. Than I painted the bottle with chalkboard paint and some acrylic "Robbins egg blue" paint.. I also added some antique white into blue.


3. Than you'll need twine of your choice, I have this hairy one, so I had to trim it after I was done gluing it. Haircut, you know.... And you can pick any decorations , but I had a sea star set. Sea theme in the middle of winterland.


 4. Here I'm showing you how I attached the twine. Used a hot glue gun, I had glue in between the layers too, so it would stay nicely together.
5. And at last I attached the big star by putting glue right in the middle of it and sticking it to the twine in the spot where string begins and ends. This way it looks neat.

Here you have it! Nice beachy bottle :))))


Please , leave a comment! I'll be really happy!!!


Tuesday 28 January 2014

Vintage look for my Ficus tree

I have the ficus tree which is filling the corner of my living room. He is doing a good job. But I painting everything in white and mod podging it with the french graphics. Here we go ficus - Your turn!


BEFORE:  that brown pot was an issue. It has nice texture though. So when I started painting it with white, the brown colour saturated through, making everything yellow. I was upset at first, but than I thought... hm, vintage old yellowish white. NICE!!!


AFTER: I decorated it with graphic I found on pinterest, you can find it on my pinterest board "vintage graphic". If you can't find it comment, please, and I send it to you directly. Originally the image is black and white, by the way. It just my pot made it yellow. I hope your pot , if you are redoing one, is not so stubborn.


I used Mod Podge to transfer image. The tutorial is in my post about tray re-do. Ok, hope you like my ficus transformation :)

P.S. oh, yea-a-a-a-a-ah, it's artificial.

Sunday 26 January 2014

Vintage french typography tray re-do!!!

I bought this tray from local Restore, their mission is to mobilize volunteers and partners in building affordable housing and promoting homeownership as a means to breaking the cycle of poverty. You can check them out here. So people donate things they don't need to this store, the store sells it and uses the money for their mission.
The tray I found cost me 1$ (!). Unfortunately I don't have "before"  picture, but it was blue with some corn picture attached inside. The tray perhaps was only for decoration purposes. It is rather small for anything else.
First I painted it with white acrylic paint from dollar store (this store is awesome for crafters).
Than goes the most interesting part. Since I am in love with vintage french graphics, I'm attaching it everywhere I can, so this tray was the first thing representing this style.
To do this you'll need:
  • Mod Podge (cool thing you never heard before of , unless you are crafter)
  • Laser printer
  • Image you want to transfer
  • Finger (your own preferably)
  • Brush
  • Patience
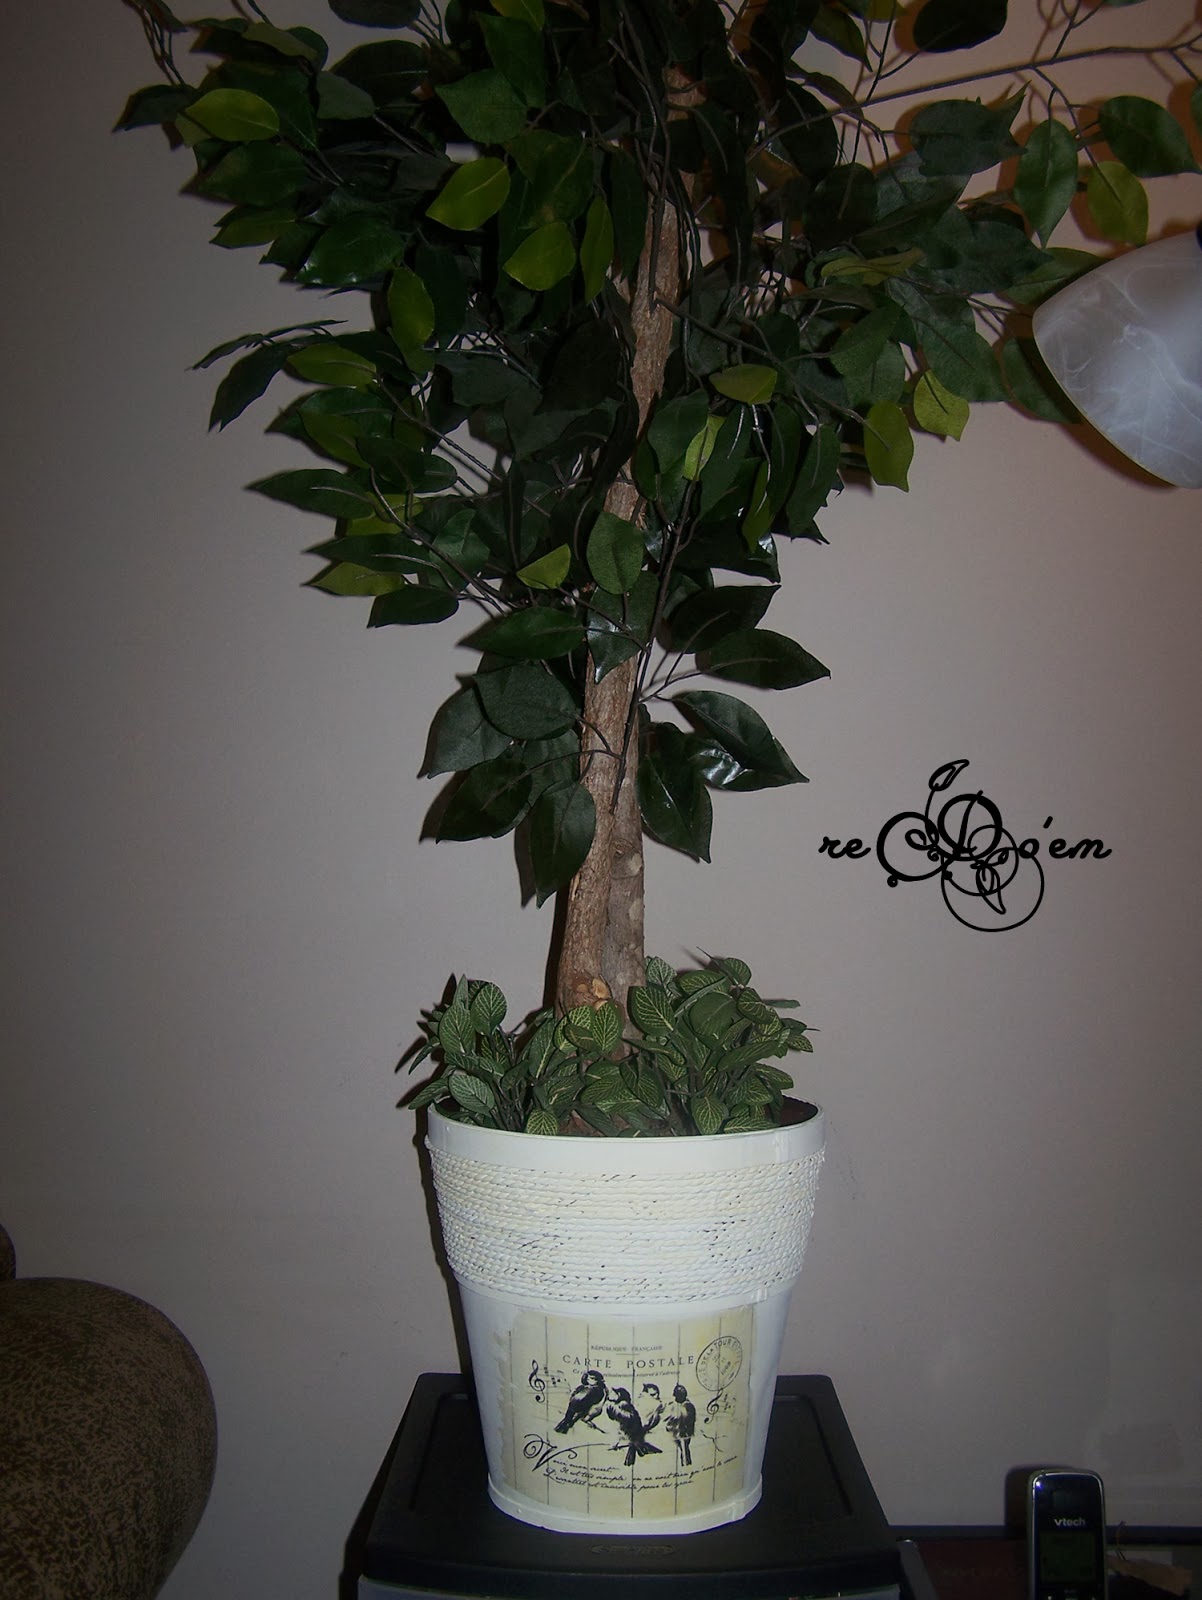
Here is the finished product to keep you motivated :)

 I took the graphic from the Graphics Fairy, you can find the link to this absolutely must know site on the right side of the blog, right under "about me" column.
To transfer it you need to print it flipped horizontally. Here is the image


After printing, cut it out as close to the image as possible, than apply mod podge right on the front side of the image, don't use too much of it. Than glue it right where you want the image on the tray.
Now wait overnight (I heard it's ready in couple of hours, but never tried it myself, I waited overnight).
When it is dry, moist a paper a little bit, but don't allow it to be really wet. Than use your finger to roll the paper out of image, don't rub too hard or you can damage the graphic. If you can't rub it all at once, wait when the paper dry again, and than moist it back and repeat rubbing until there is no paper left. That's it. Next time I do a transfer I'll post step by step pictures. I'd say this time it's an introduction to Mod Podge transfers :)

Look what my husband USES this piece of fine art for:


...but it's ok, I am putting up with it for a week, just because he says I buy useless things...and now he will get a feeling this tray is absolutely functional. IT IS HOLDING broken door bell :)


Thanks for coming by! Comments are so appreciated!!! :)

Friday 24 January 2014

IKEA hack : children table set

I bought this table set from IKEA two years ago, since then it has suffered numbers of changes. And eventually I've transformed it to what I like.
Here how it looked at birth:

But I wanted it to look more like my other furniture in the living room, so I stained it and put several clear coats. So it looked like this:
... one day I sat on the little chair and that caused the giant whole in the middle of the seat. The sentence was: reDO it into something durable and nice looking. I bought a spray paint in "ocean breeze" colour and some wood planks at the Lowe's to fulfil my plan. And look what I've got:

I personalised it using the stencils I made and acrylic paint. Also distressed the planks a bit with sander before I finished it with clear coat.


LIKE on facebook to see all the updates and inspirations: reDoem&Shabby Moth

Thursday 23 January 2014

Kitchen Chair Upholstery (tutorial)

I think I will start with chairs. If you tired of your old , stained kitchen chairs, you can reDO them. I had this idea since my children start messing up in the kitchen. Fabric was extremely dirty and stained with all kinds of food. Plus a desire to renew the view of my kitchen helped to speed up the process. Here how I did it:

YOU WILL NEED:
  • Stapler (heavy duty)
  • Scissors
  • Fabric of your choice (mine is from IKEA)
  • Screw driver
  • Plastic (clear shower curtain from Walmart, worked best for me, because of the proper thickness )
Here is the picture before/after:


STEP 1
Turn your chair upside down, remove the screws, remove the seat.
STEP 2
Place the seat on the fabric, leaving as much fabric on the sides as you need to fold it on the back of the seat.
STEP 3
Place the fabric as on the picture and staple each side in the middle. Try to pull fabric towards the centre of the seat, to provide desirable tension. 

Then staple it all around (keep on pulling fabric towards the centre while you staple it), leaving the corners as on the picture.
STEP 4
 
That's the hardest part here.  Staple the corner, folding one end of fabric under the other, trying to make nice corner (tip: pull both ends of fabric hard toward the centre of the seat )


Then when you done with all four corners , cut out the extra fabric .
STEP 5
Do the same steps with plastic.
Than place the seat on the chair and screw it back. Here you have it, beautiful new stylish kitchen chairs. I love the plastic idea, now no matter what mess is, I just wipe it clean. It is so easy.
I hope this was helpful. Please let me know if you have any questions.

LIKE on facebook to see all the updates and inspirations: reDoem&Shabby Moth

Wednesday 22 January 2014

About me a bit more

Hello everyone, I decided to start a blog! I had this idea every time I was building something new for my house. Every blog I  visited and every neat thing, weather on the web or in real life, that attracted me gave me an idea to share it with you - DIYers, moms who do their nests cosy!
I have to blame Pinterest for my love of vintage and rustic things! Anyway, my husband definitely blames it!.... So I decorate in vintage and rustic styles, also love french white and black style.  All right, just give me some time and I'll make an awesome blog for you! Forgive my English, by the way, because I am a foreigner :)
The main purpose of this blog is to share some DIY's and tutorials that I personally do, and also maybe some great ideas found on the Internet.
I also love to crochet, so maybe in future I'll be posting some interesting patterns and my own creations once in awhile !
...And I do some scrapbooking too.

In a nut shell: I'm a mom of three, who loves to make her home cosy and beautiful. Budget is a good thing, that's why I love to decorate my house with repurposed and reused things. I love DIY's, thrift and hardware stores. I would be very pleased if some of my ideas were useful and entertaining for you!

LIKE on facebook to see all the updates and inspirations: reDoem&Shabby Moth